How to use
We'll explain how to import the Jetboost features (known as "boosters") used in this template so you can get started right away with everything working. Once the import is complete, you can then begin to rename and re-purpose the CMS to fit your project.
If you've already cloned it and are reading this from the project within your account, simply go to step 2. Otherwise, you can clone it to get started.
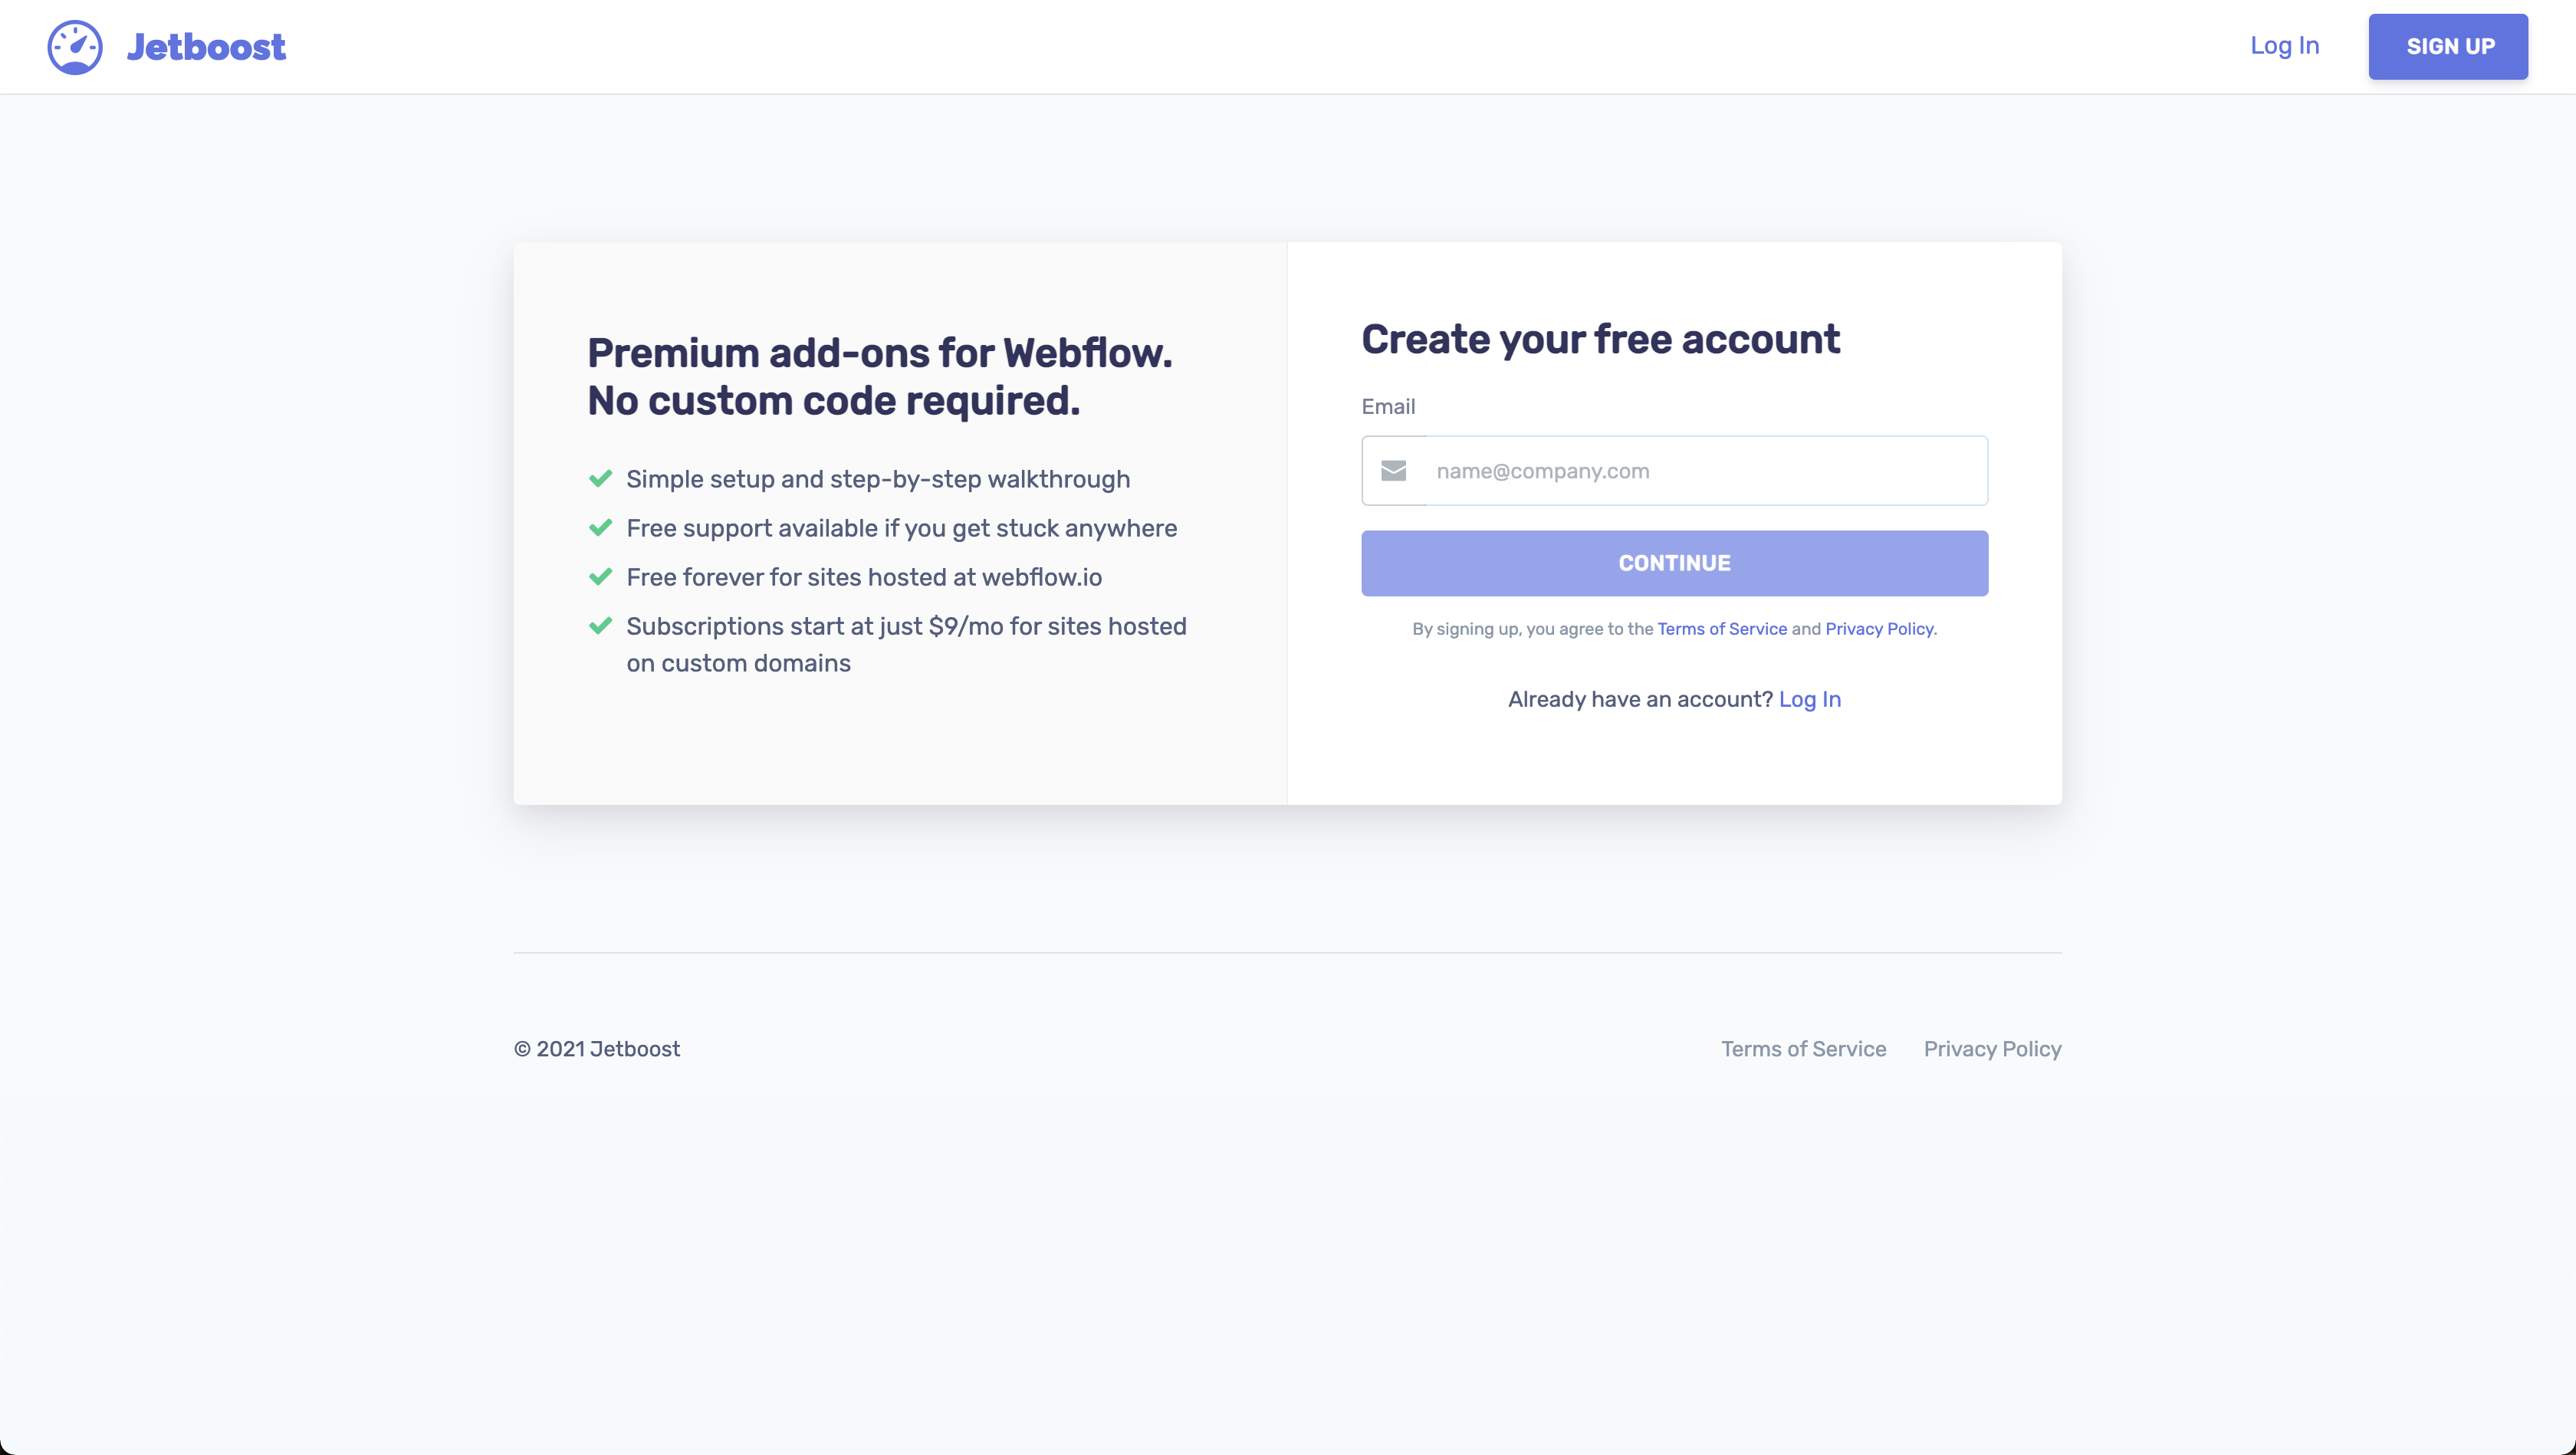
To import the boosters used in this project & to use Jetboost altogether we'll need to create a free Jetboost account.

If you're not familiar with Jetboost at all yet, you may be asking, "what is Jetboost and what is a booster?" Jetboost is a 3rd party service for Webflow that provides products ("boosters") to enhance the CMS. Boosters give your CMS more flexibility on the user side. This makes your content more accessible and dynamic for your visitors. You may have noticed a functioning search bar in this template, as well as filter and sorting options, and a "load more" button for lengthy collection lists. This is all possible with Jetboost and it's various boosters.
Learn more about Jetboost at our website.
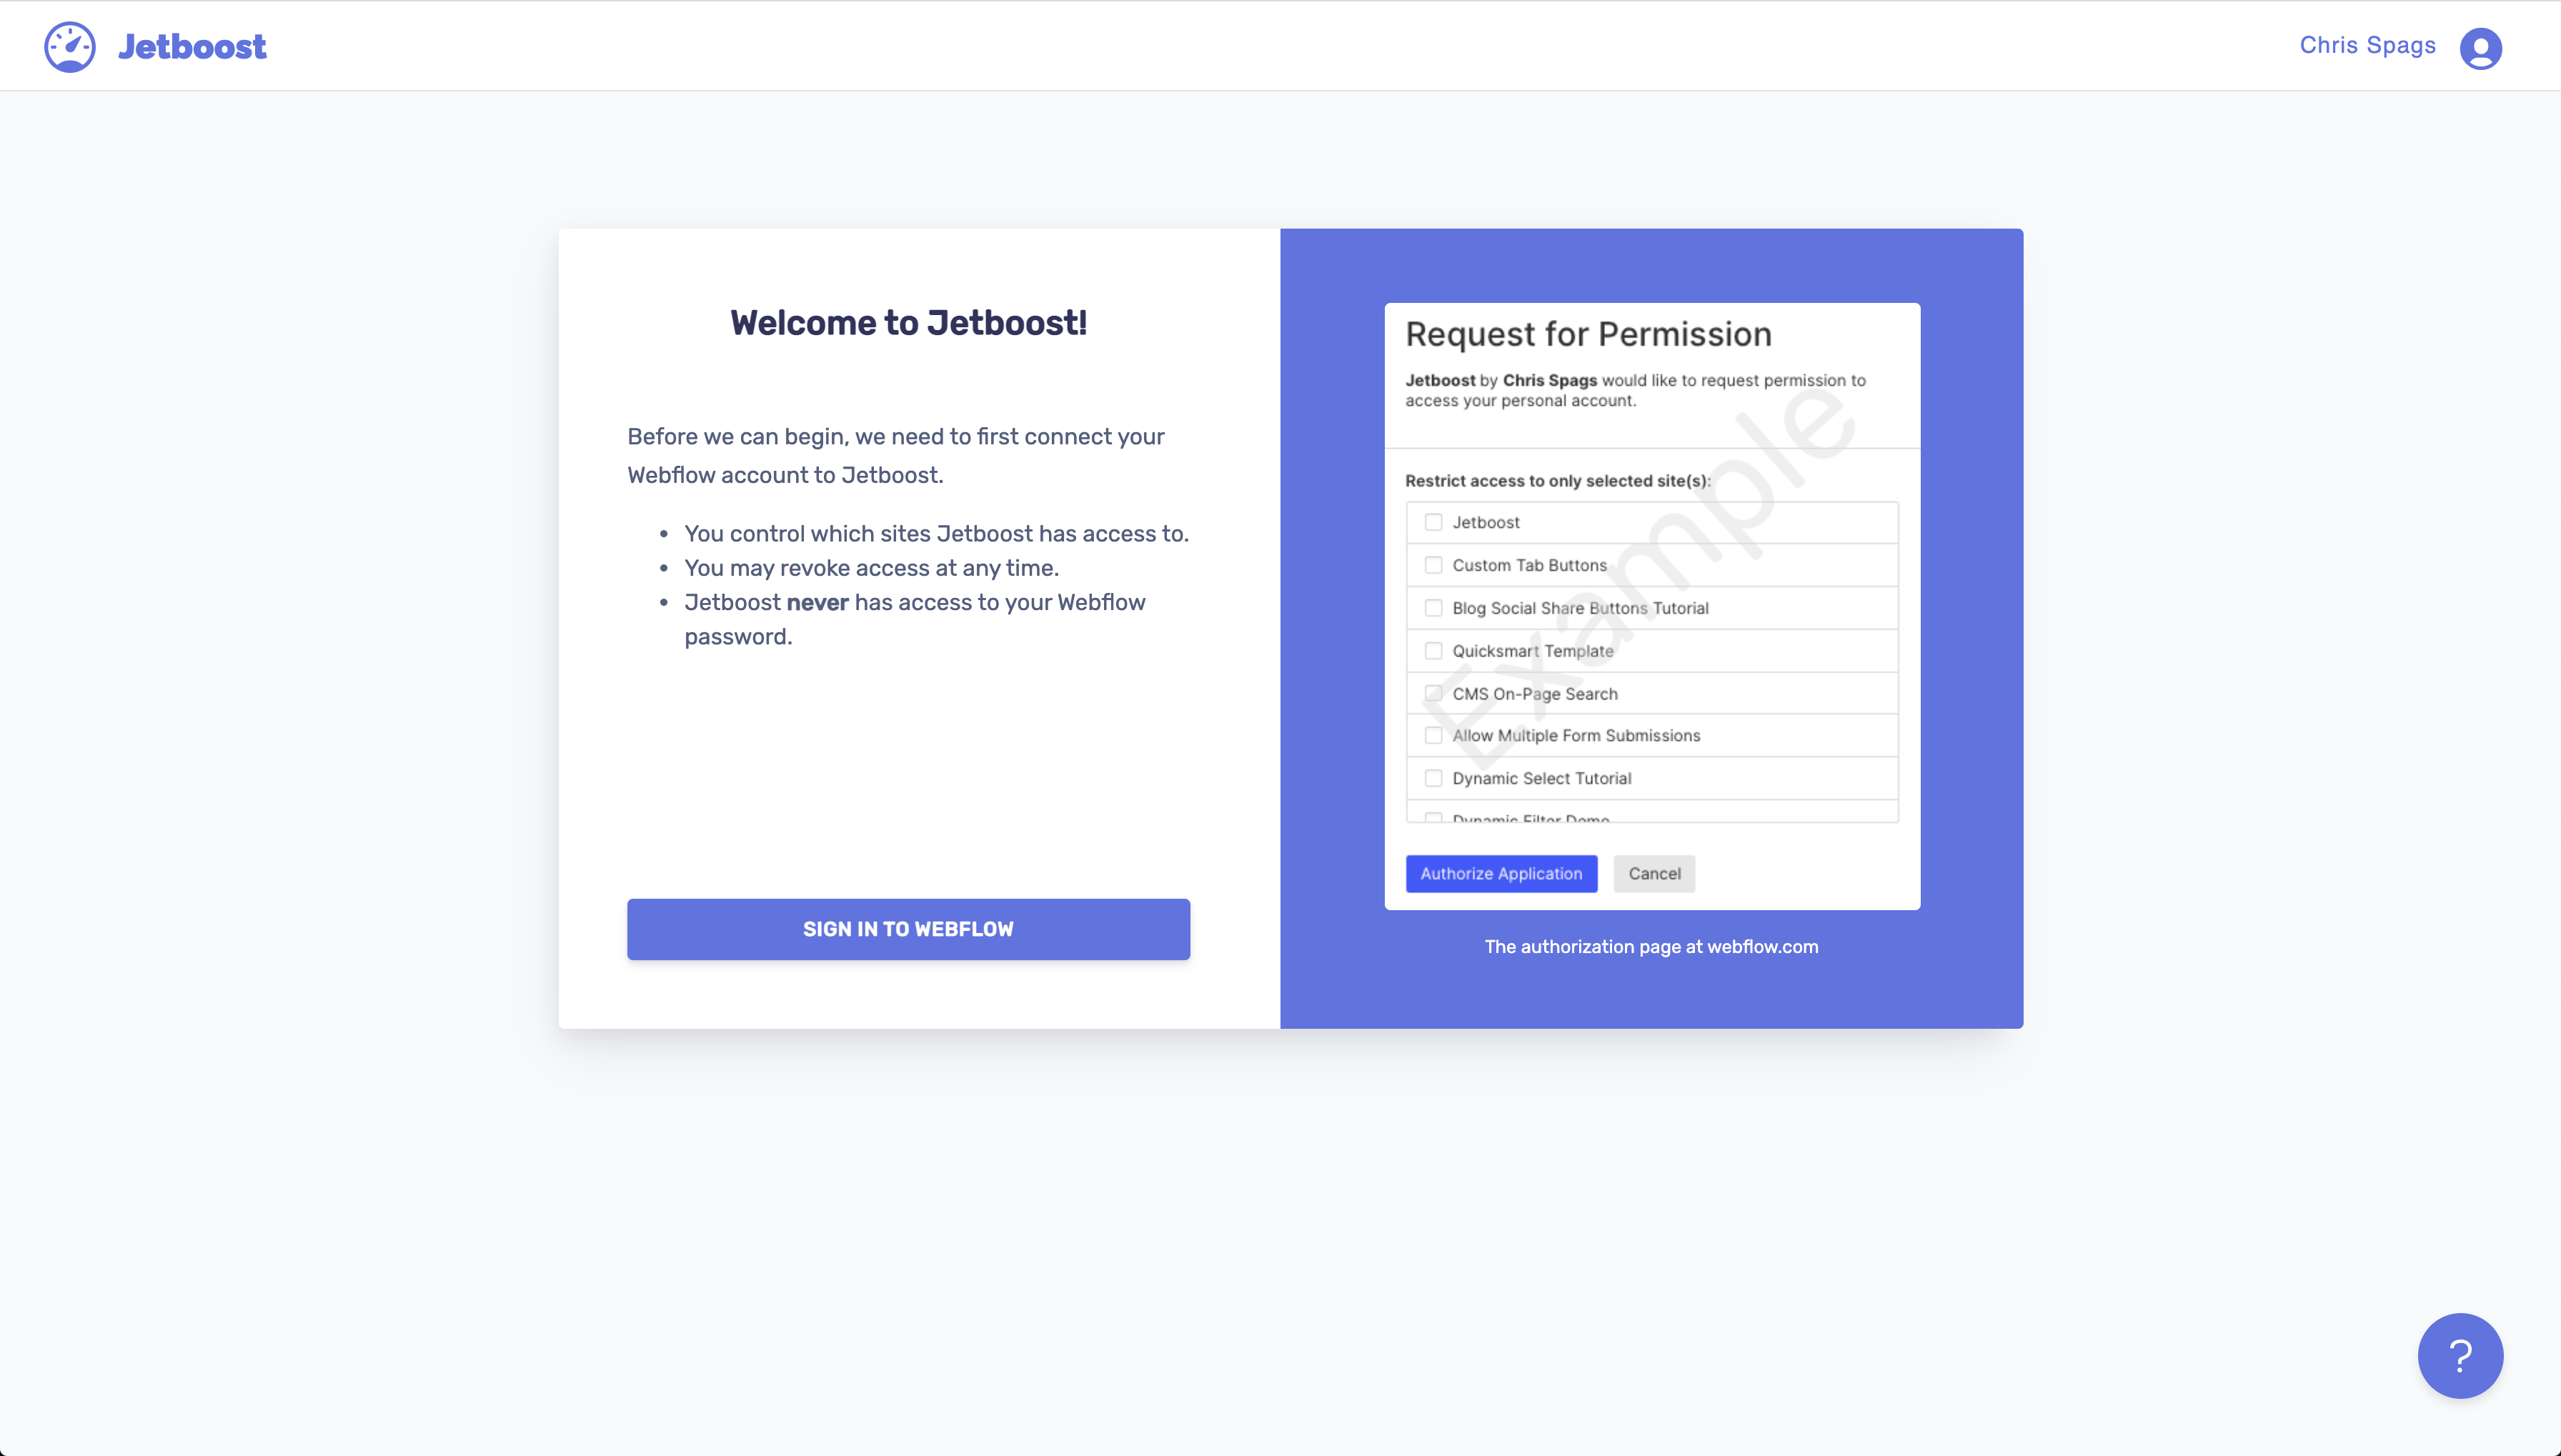
Once you've created a Jetboost account, you should have been prompted to connect your Webflow account to Jetboost. Make sure to select this template as one of the projects you want to give Jetboost access to.

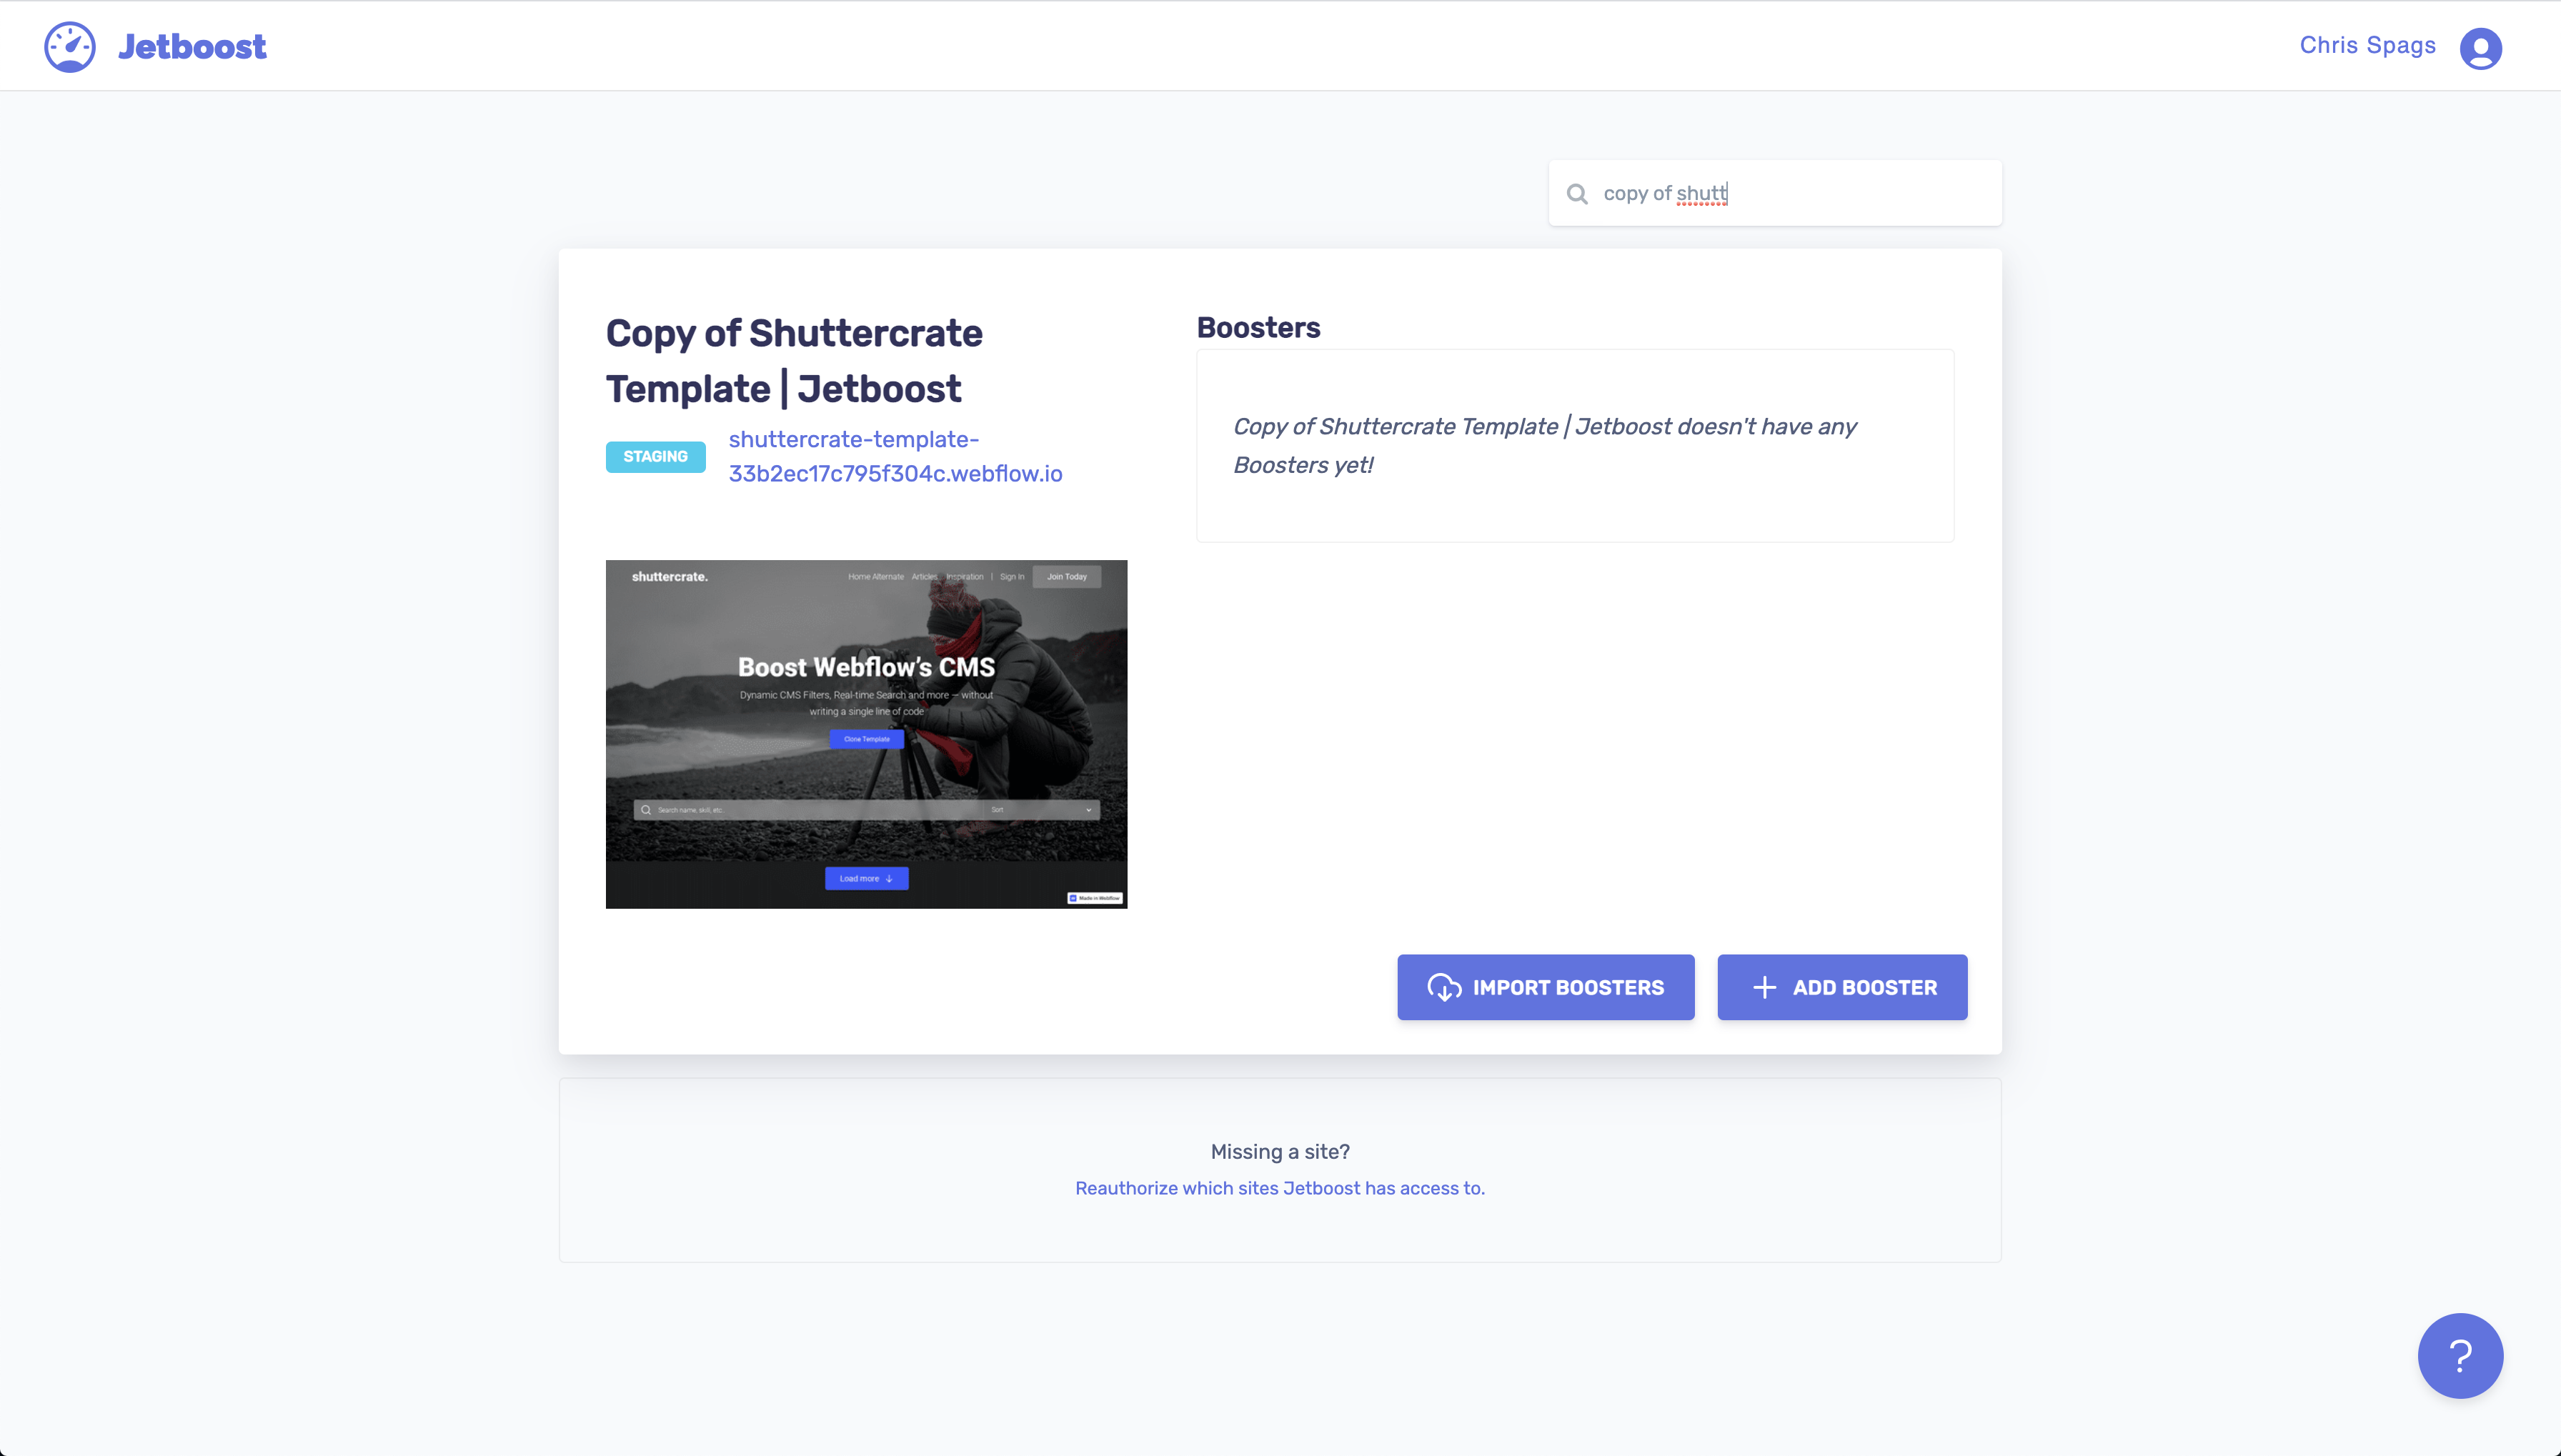
Now, locate this template in Jetboost, and you'll see a couple buttons next to the website as you can see below, and the one we want is "Import Boosters."

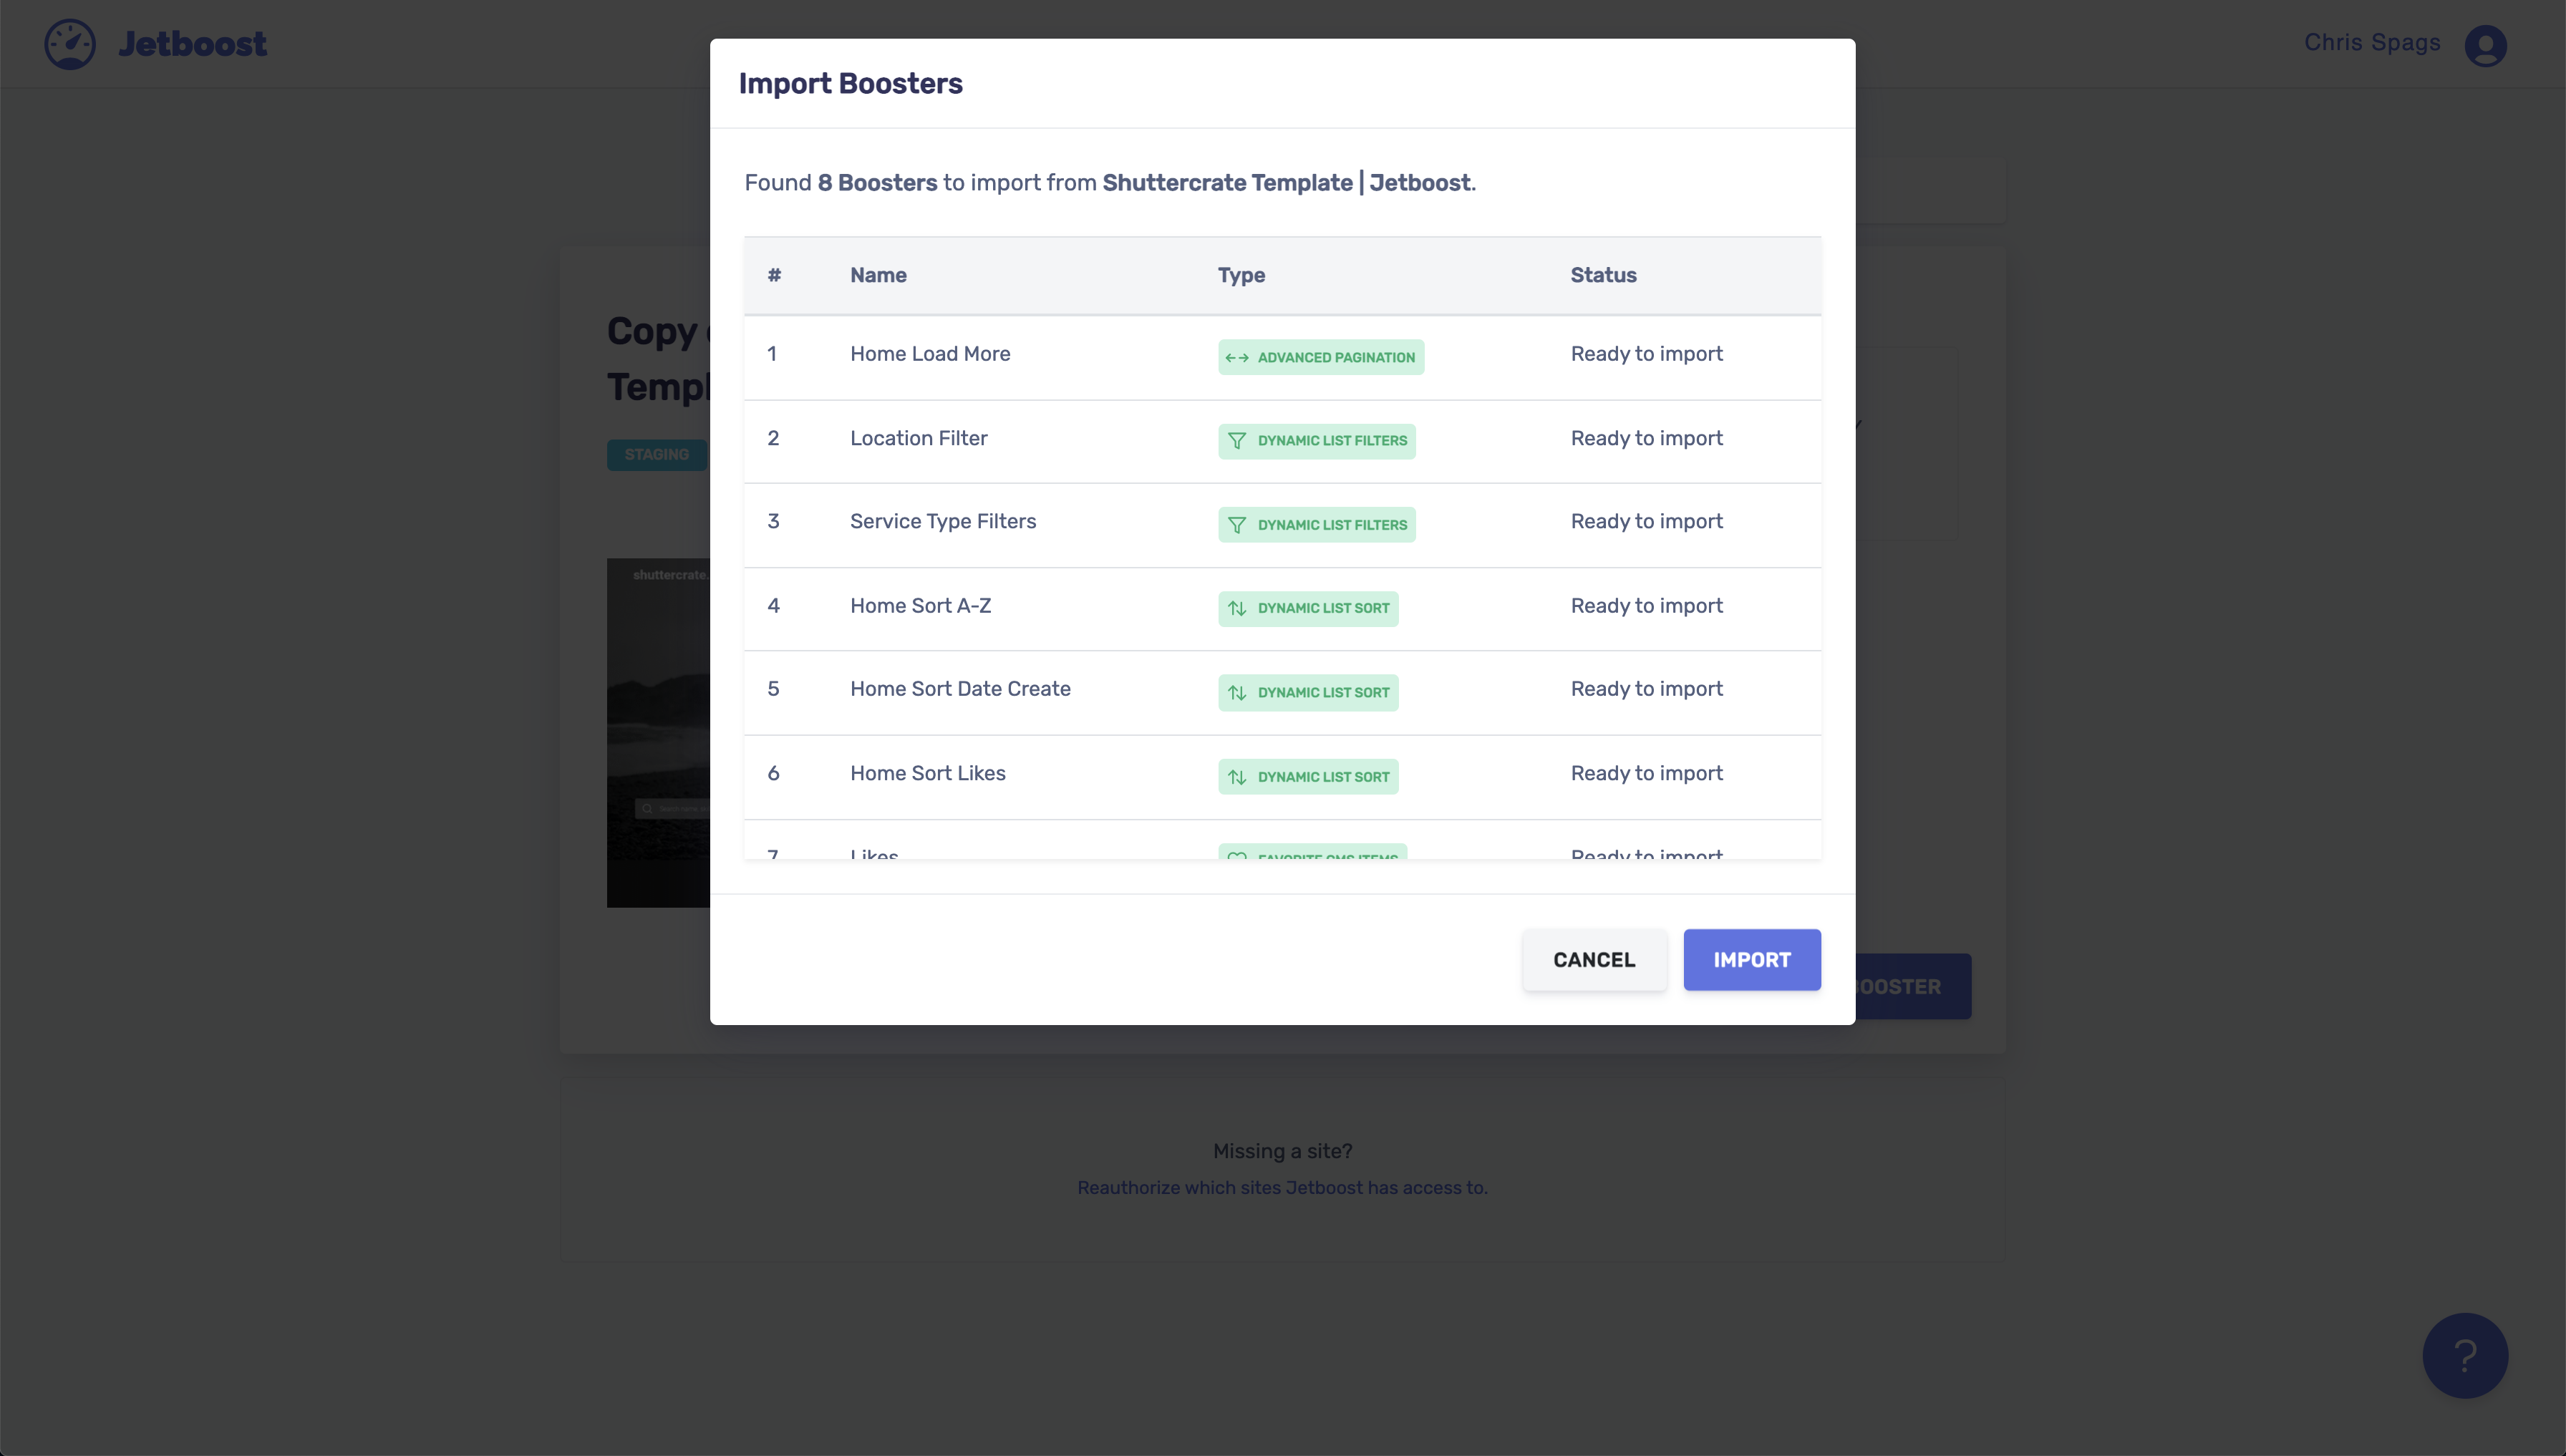
When you click "Import Boosters," a modal will pop up showing what boosters are used and what will be imported to this project. Select "Import" to continue.

Complete the remaining steps in the Import Wizard and then you're all set! Wasn't that easy 👍🏼? Now you can go through the boosters and poke around and see how everything works, and from there you can start to modify it along with the projects CMS and make it fit around your project.
Hope this was helpful. If you have any questions and need help, please contact us at support@jetboost.io